
Home Tips 2025-08-07 11:12:30
How to Unclog Stovetop Burners and Make the Flame Stronger with This Fantastic Homemade Trick

A weak, yellow, or uneven flame on your stovetop isn’t just annoying—it can slow down your cooking, waste gas, and affect the taste and texture of your meals. Fortunately, the solution is often simpler than it seems. In many cases, the issue comes from a clogged burner, and you can restore a strong, blue flame using a few household items—no expensive tools or harsh chemicals required.
Why Do Stovetop Burners Get Clogged?
Burner ports—the small holes where gas flows through—can become blocked over time by food spills, grease splatters, and dust. When these ports are clogged, the flame becomes weak, inconsistent, or yellow. While surface cleaning helps, deeper cleaning is sometimes needed to restore proper gas flow and flame quality.
What You’ll Need
-
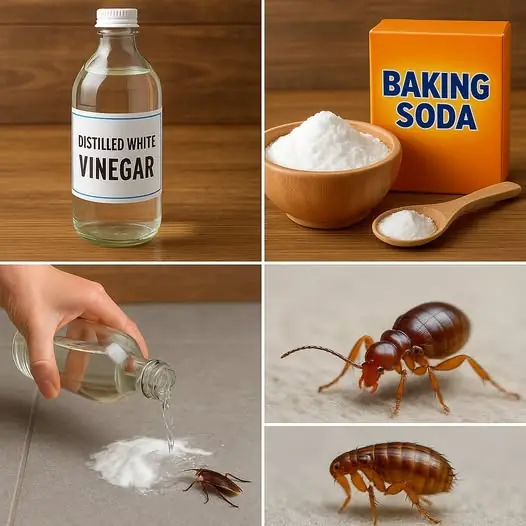
White vinegar (natural degreaser and disinfectant)
-
Baking soda (breaks down grime)
-
A toothbrush or soft-bristle brush
-
A sewing needle or safety pin (for unclogging ports)
-
Warm water
-
Dish soap
-
A small bowl
Step-by-Step Guide to Unclog and Clean Your Burners
Step 1: Ensure Safety First
Turn off all burner knobs and let the stove cool completely before you begin.
Step 2: Remove Grates and Burner Caps
Lift off the grates and burner caps. Set them aside for cleaning.
Step 3: Make a Cleaning Paste
In a small bowl, combine 2 tablespoons of baking soda with enough white vinegar to form a thick paste. It will fizz briefly—this is normal.
Step 4: Apply the Paste
Spread the paste over the burner heads and caps, especially over any visible grime. Let it sit for 15–20 minutes to loosen stubborn buildup.
Step 5: Scrub the Burners
Use a toothbrush or soft brush to scrub the burner heads and caps. Pay close attention to the small holes. If debris remains, use a needle or safety pin to gently clean them out—one at a time. Be careful not to widen or damage the ports.
Step 6: Soak the Parts
Place the cleaned burner components in a bowl of warm water mixed with dish soap. Let them soak for 15–30 minutes to remove remaining grease.
Step 7: Rinse and Dry Thoroughly
Rinse all parts with clean water and dry them completely. Moisture left behind can prevent ignition or damage your burner.
Step 8: Clean the Stovetop Surface
While the parts are soaking, wipe down the stovetop with vinegar and a cloth to remove any surface grease and residue.
Step 9: Reassemble and Test the Flame
Once everything is dry, reassemble the burners and grates. Turn on the gas and ignite each burner. A healthy burner should produce a steady, blue flame.
Extra Tip: Prevent Future Clogs with Monthly Maintenance
-
Wipe down burners after heavy cooking
-
Soak burner caps in vinegar once a month
-
Check for food spills or blockages weekly
Why This Method Works
The baking soda and vinegar combination is a natural, chemical-free way to break down grease and grime. Vinegar cuts through oily buildup, while baking soda gently scrubs away residue. Together, they target both surface dirt and internal blockages, restoring proper gas flow and flame strength.
When to Call a Professional
If your burner flame remains weak or yellow after cleaning, the problem might be with the gas line, regulator, or ignition system. In such cases, consult a licensed technician to inspect the appliance.
Final Thoughts
Don’t rush to replace your stove the next time the flame weakens. Often, it’s just a matter of cleaning the right components. With this simple DIY trick, you can revive your burners, improve efficiency, and bring your kitchen back to full flame—literally.
News in the same category
Why Bath Towels Are Essential — More Than Just a Post-Shower Staple

17 Tips on How to Spot a Fake Product

Great hacks every family needs
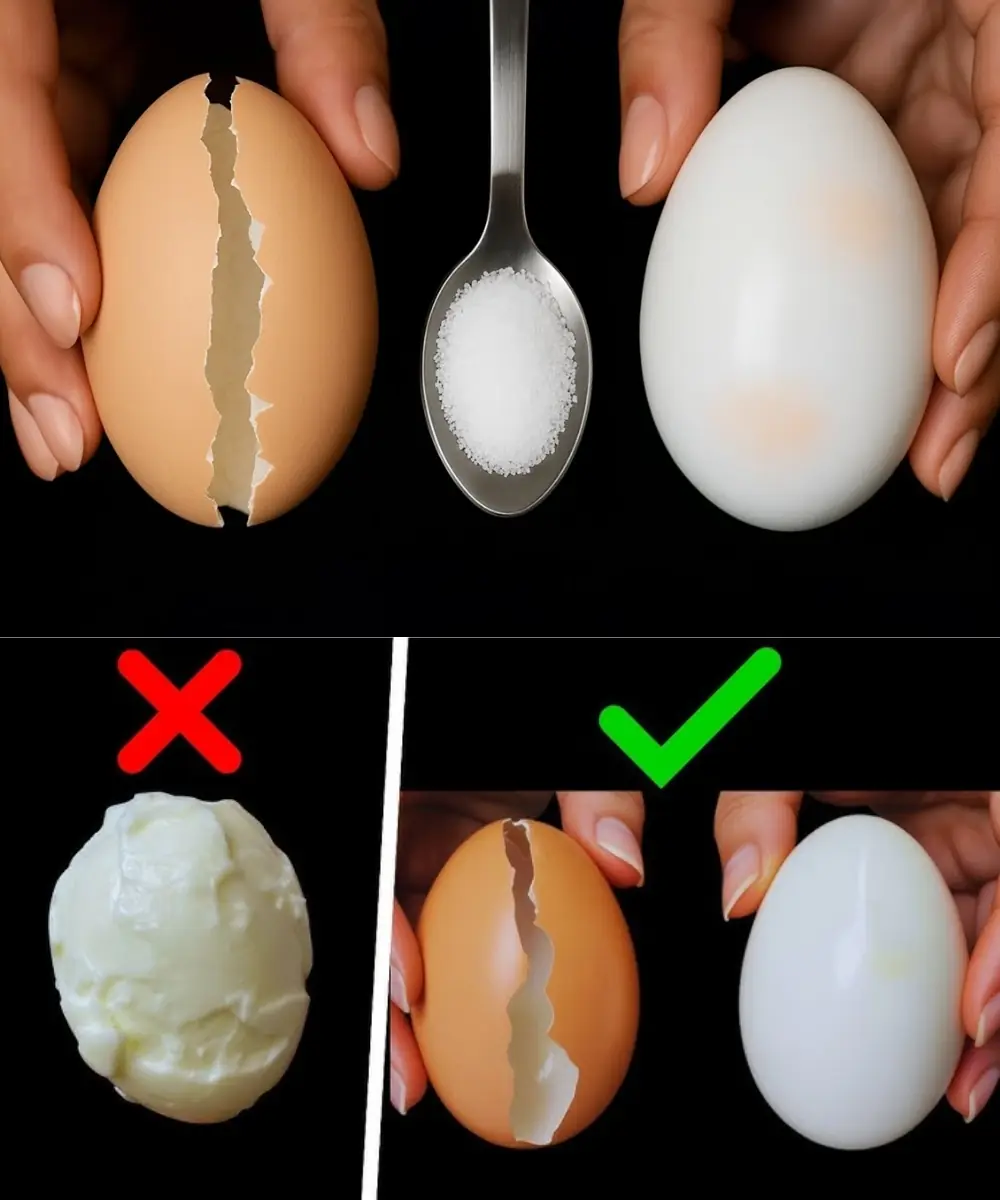
Don’t Boil Eggs Directly In Water — Here’s How FIVE-STAR Hotels Cook Their Eggs!
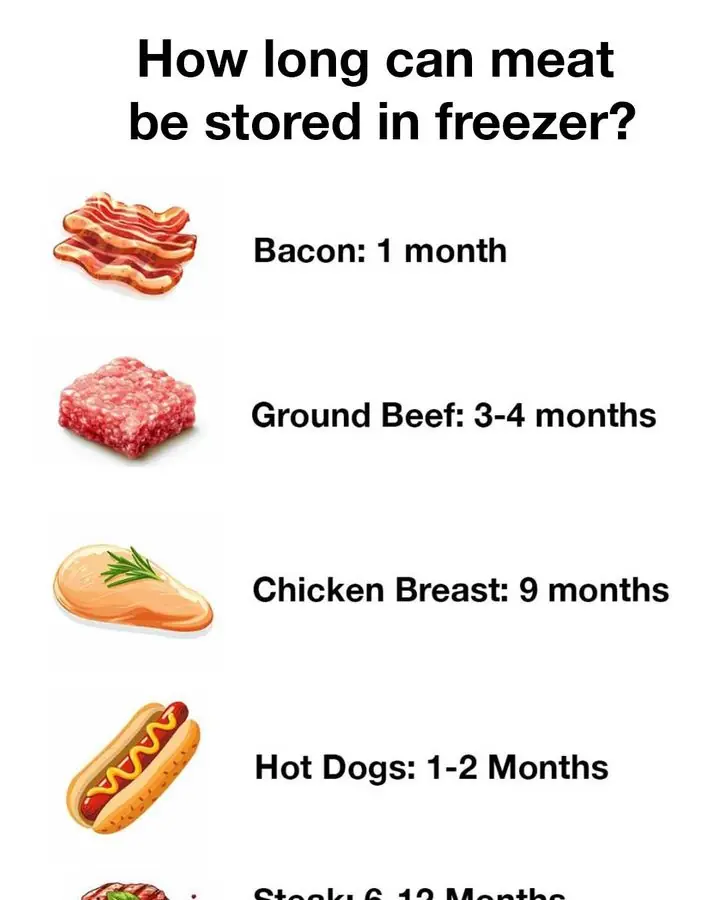
10 kinds of meat and how long to store them each in the freezer.
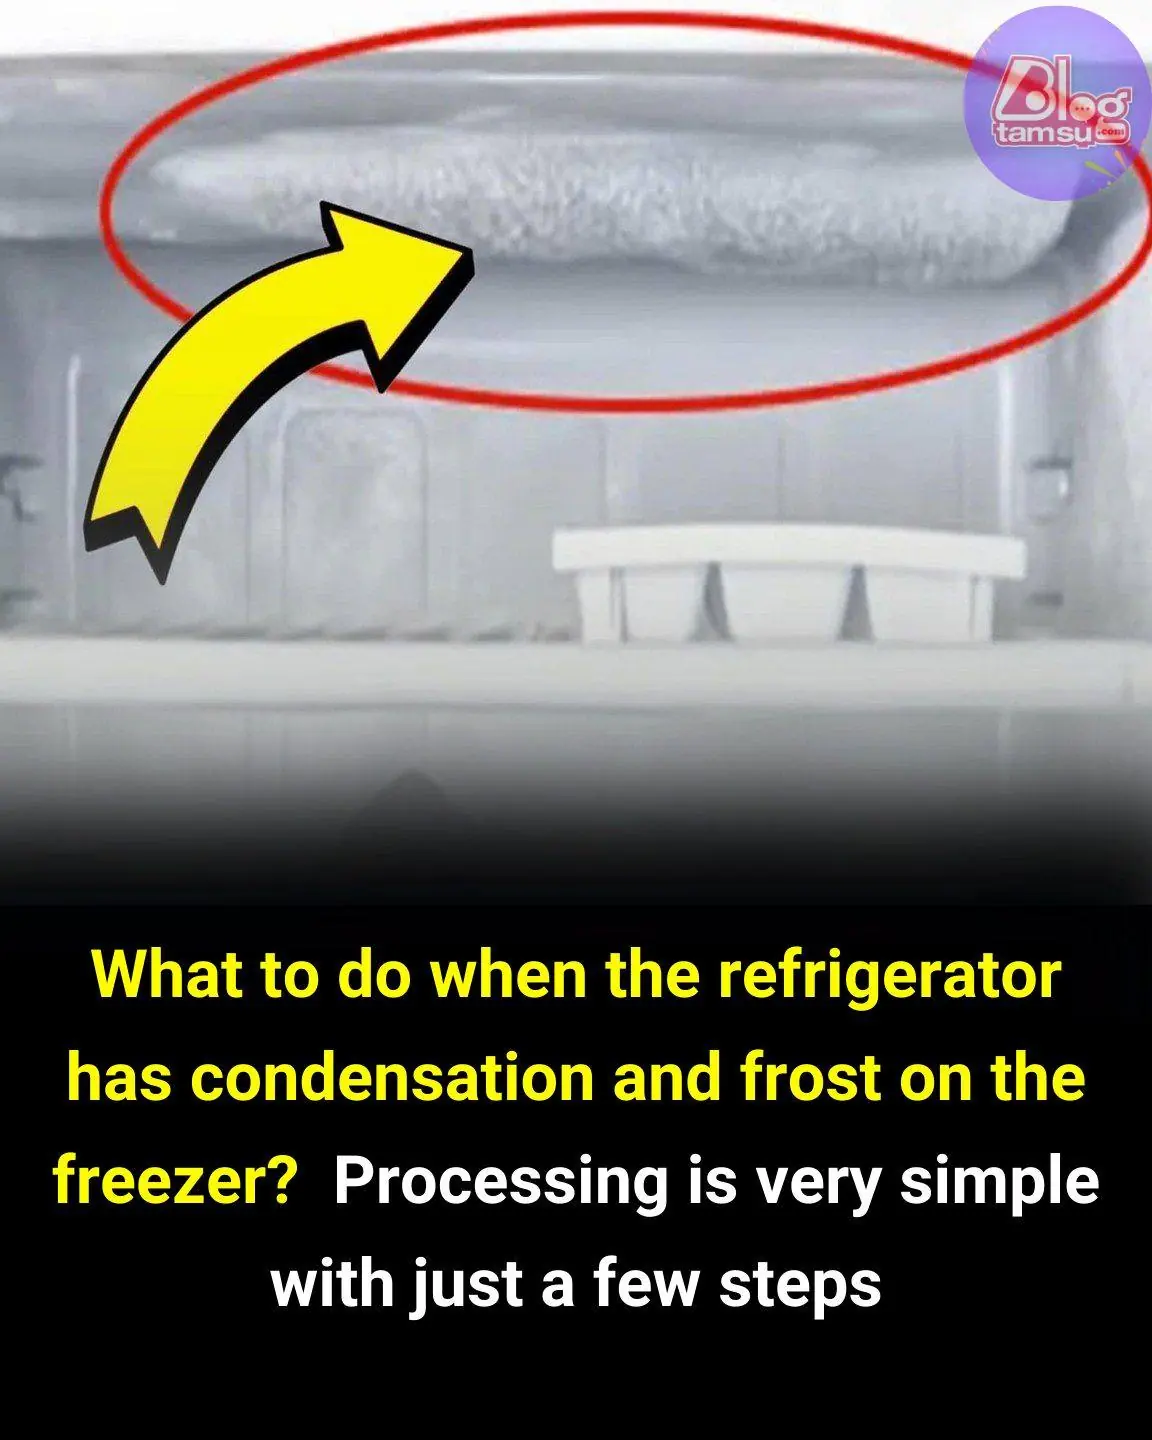
What to Do When Your Refrigerator Has Condensation and Frost in the Freezer
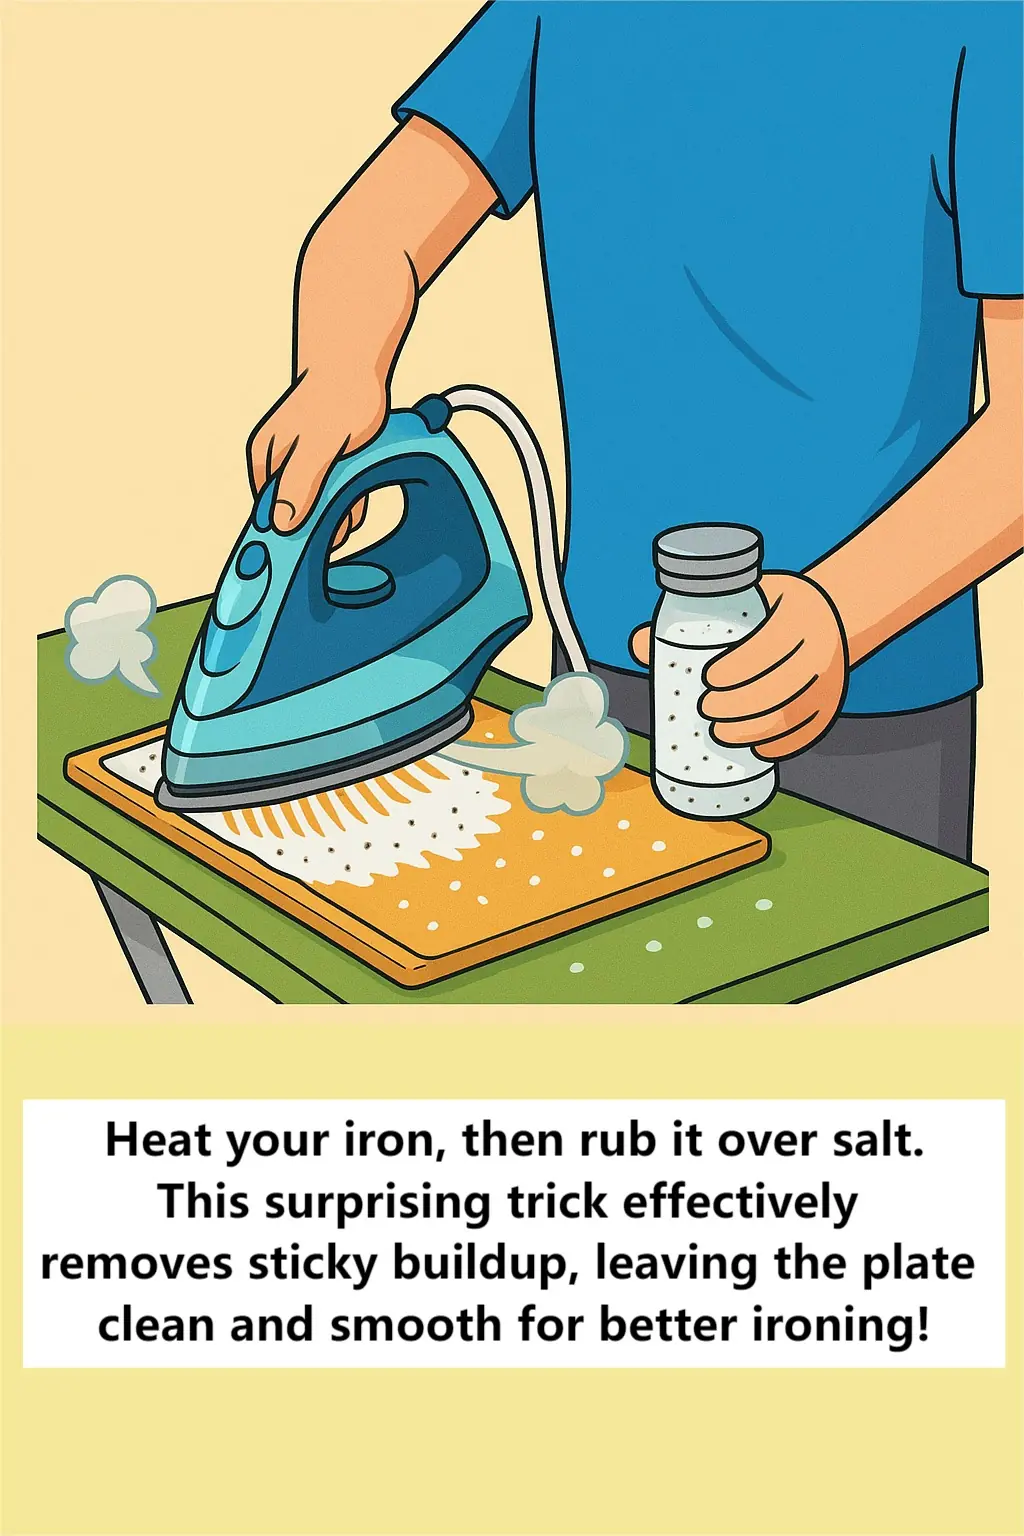
Simple Salt Hack Helps Clean Sticky Irons and Improve Performance

Why You Shouldn’t Sleep Next to a Charging iPhone Thermal Buildup

12 NATURAL HOMEMADE CLEANERS that will clean, sanitize and disinfect everything in our homes
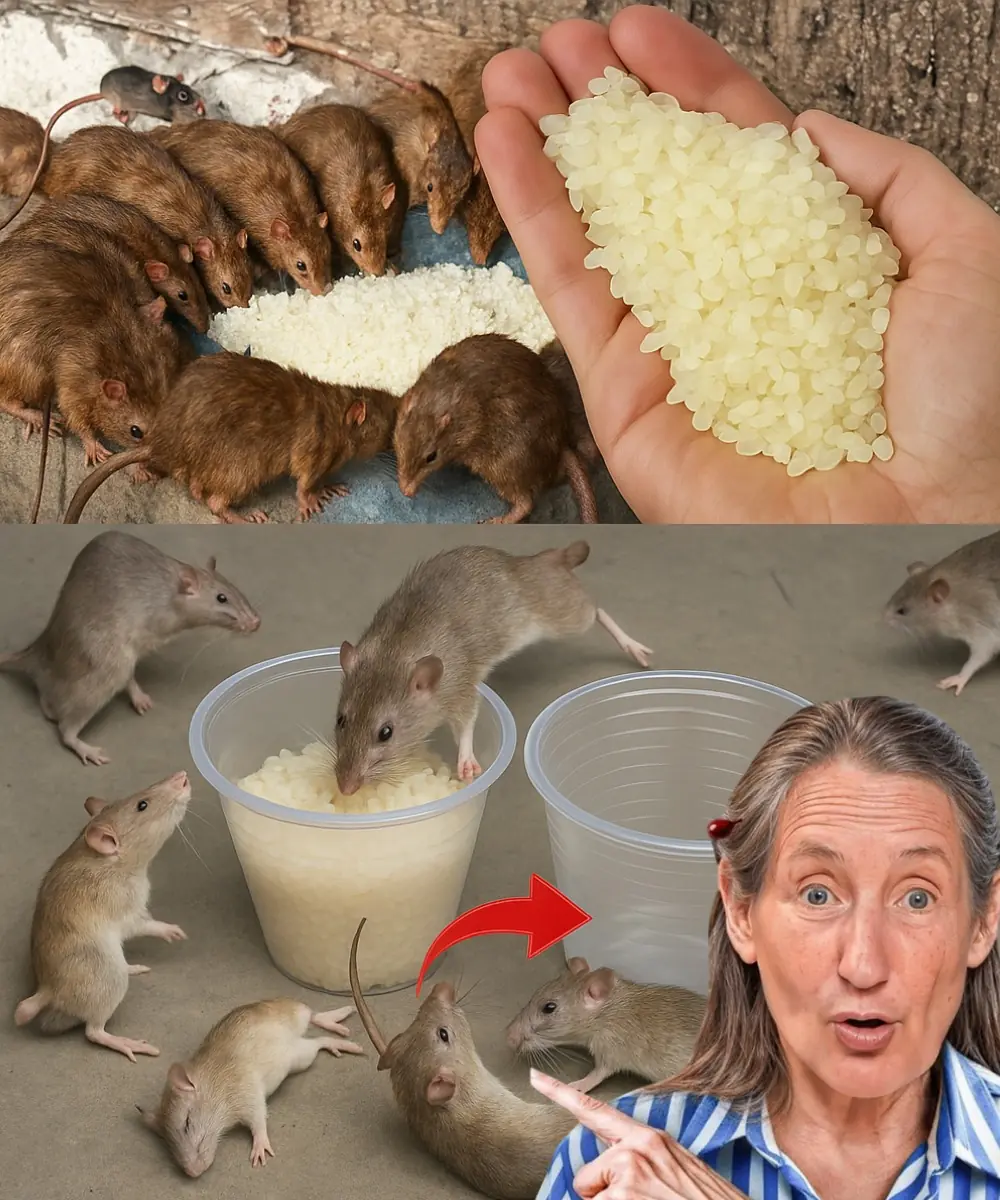
Shocking Kitchen Hack: Eliminate Rats and Cockroaches Forever with This Rice Trick!

The Natural Snake Repellent That Sends Snakes Running — Safe for You, Deadly for Them 🐍❌
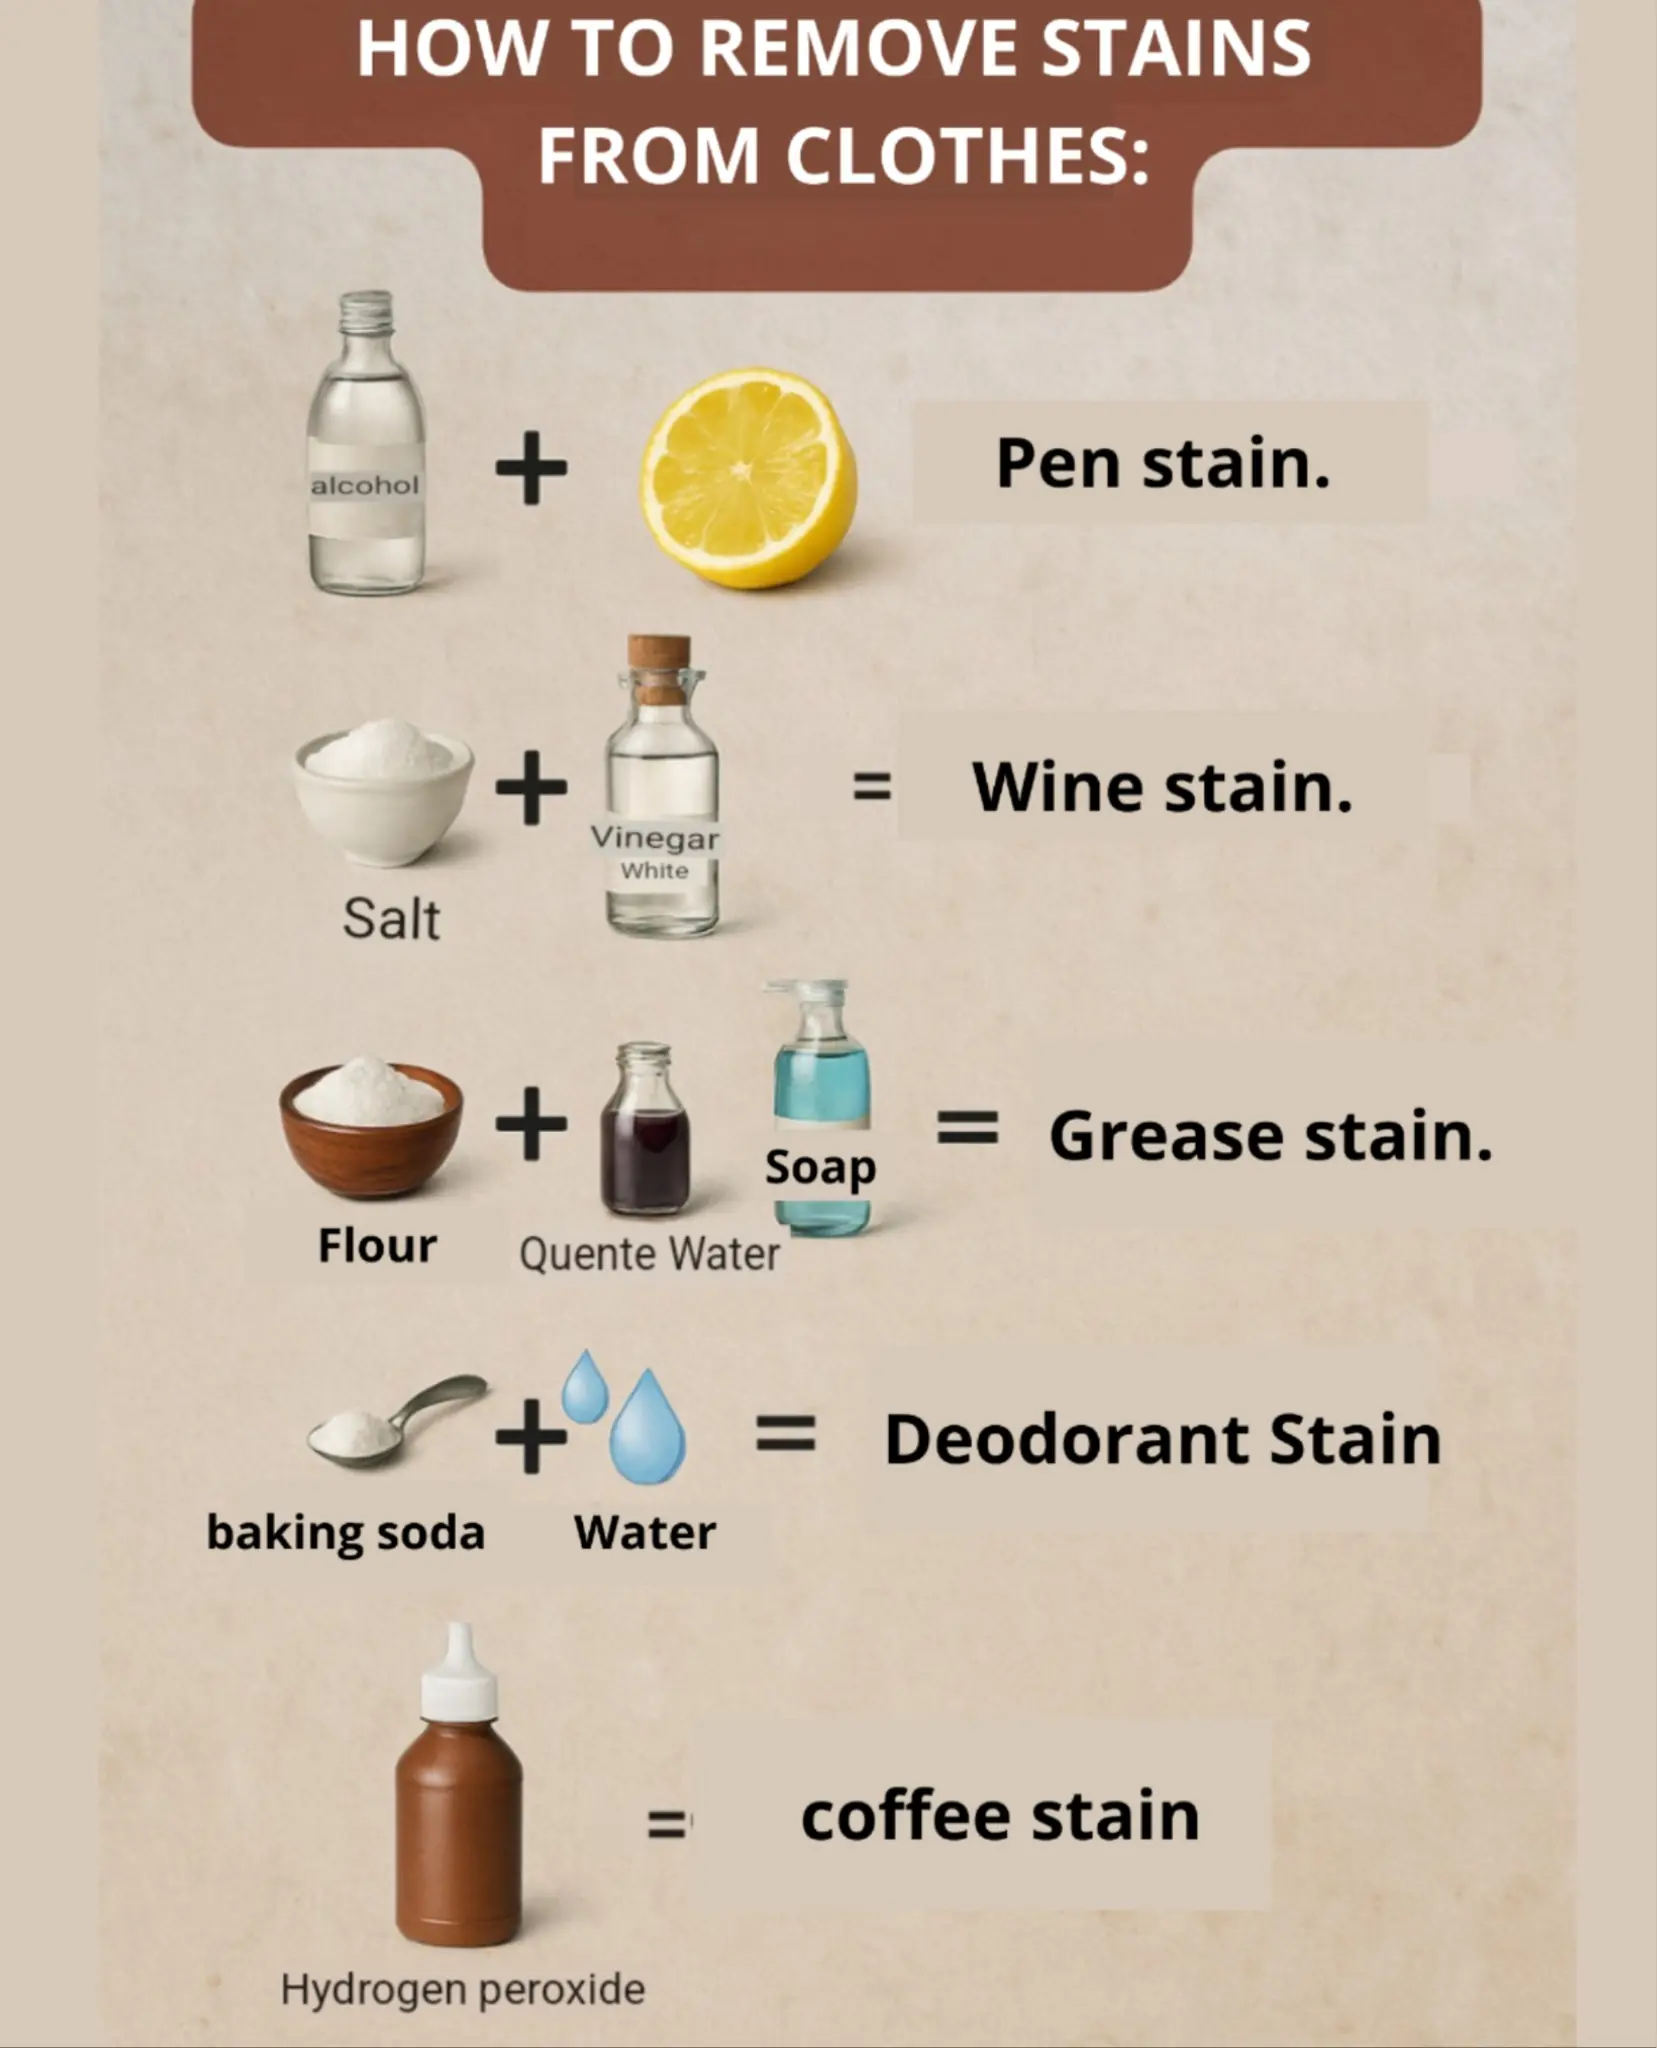
How to Effectively Remove Stains from Clothes: Simple Home Remedies That Work
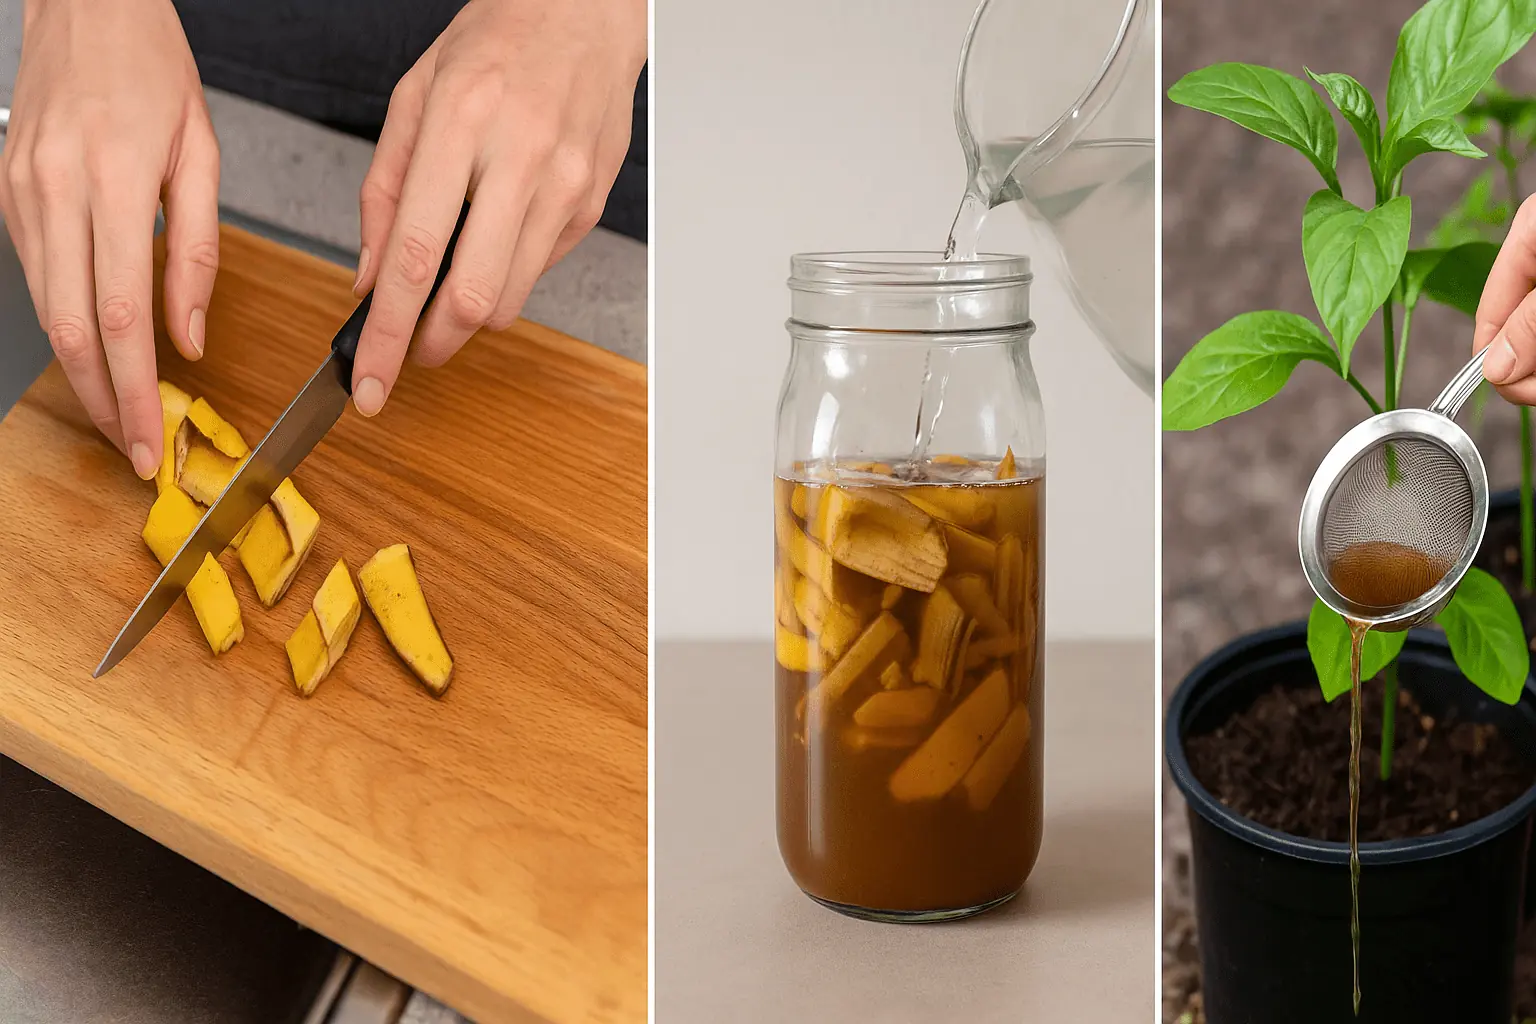
How to Transform Banana Peels into Powerful Homemade Fertilizer In Just 5 Steps
Natural Pest Control with Baking Soda & Vinegar

How To Properly Dispose of Ticks

Clear vs. Cloudy Ice: Why It Happens and How to Make Crystal-Clear Ice at Home
20 Household Cleaning Products You Should Never Mix Together
News Post

WHAT HAPPENS WHEN WE TONGUE KISS…See more
Fitness 30/10/2025 13:23
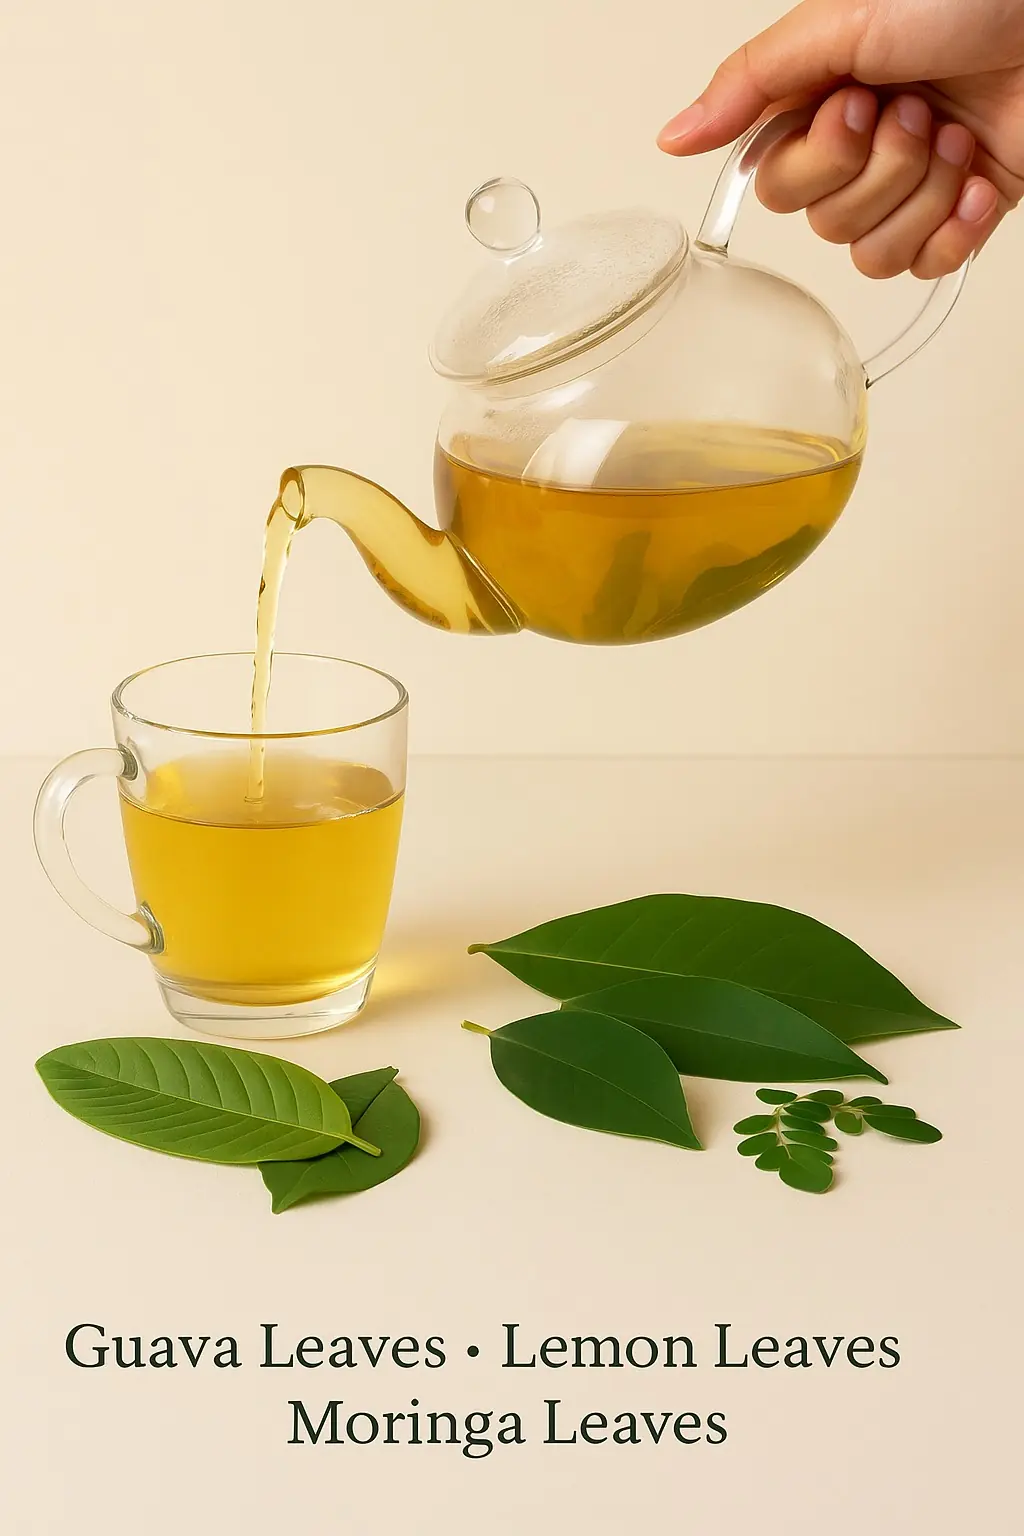
Nature’s Secret: 4 Healing Leaves That Support Metabolism, Immunity & Circulation Naturally
Healthy 27/10/2025 19:23

Don’t Drink Coconut Water Before You Know These 11 Secrets!
Healthy 27/10/2025 19:21

Pumpkin Seed Milk — The Natural Parasite Cleanser
Healthy 27/10/2025 19:19
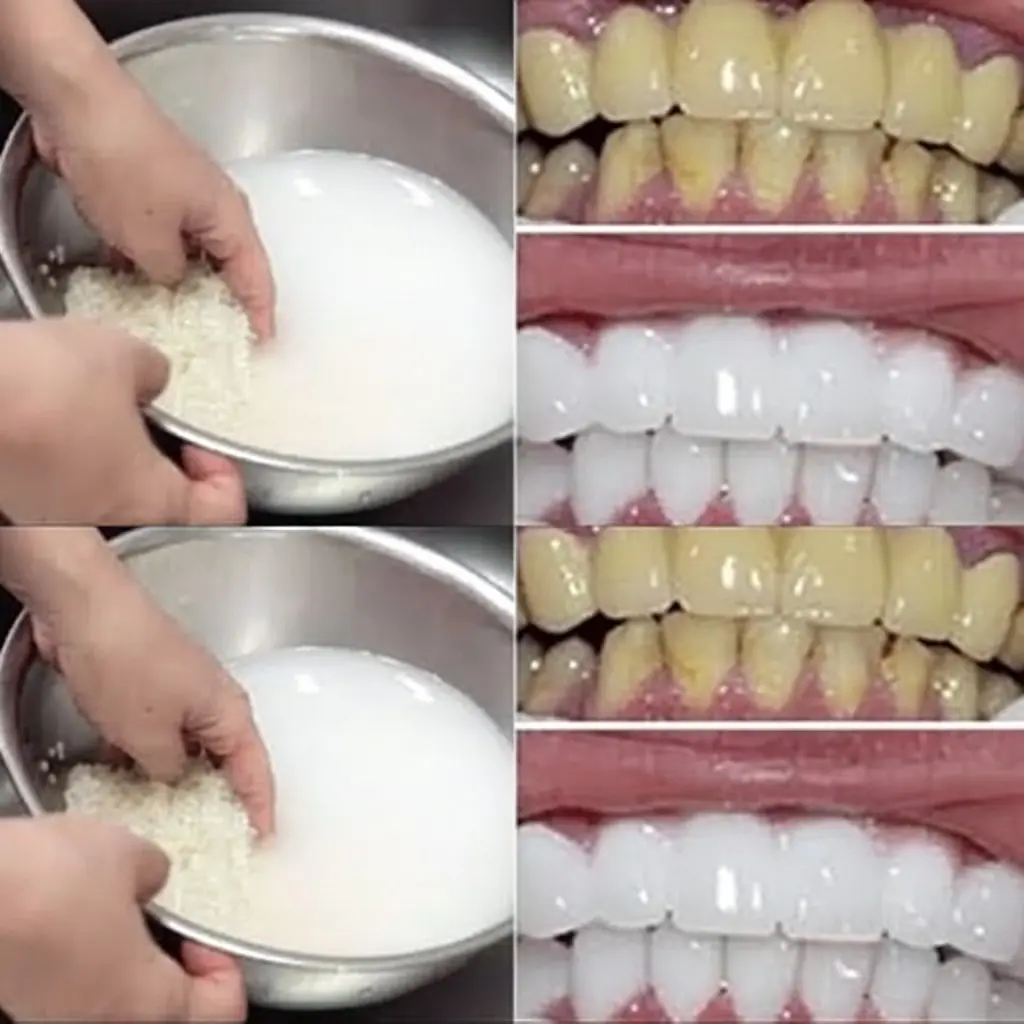
Fast Rice Water Trick for a Brighter Smile
Healthy 26/10/2025 22:42

Morning Drink to Revive Your Kidneys Fast
Healthy 26/10/2025 22:38

The Onion Recipe That Could Transform Your Blood Sugar, Support Cleaner Arteries, and Protect Your Heart!
Healthy 26/10/2025 22:37

Top 4 Fruits That Help Your Kidneys Flush Out Toxins While You Sleep
Healthy 26/10/2025 22:35

Ginger, Clove, and Honey: The Natural Trio Your Body Will Thank You For
Healthy 26/10/2025 19:06
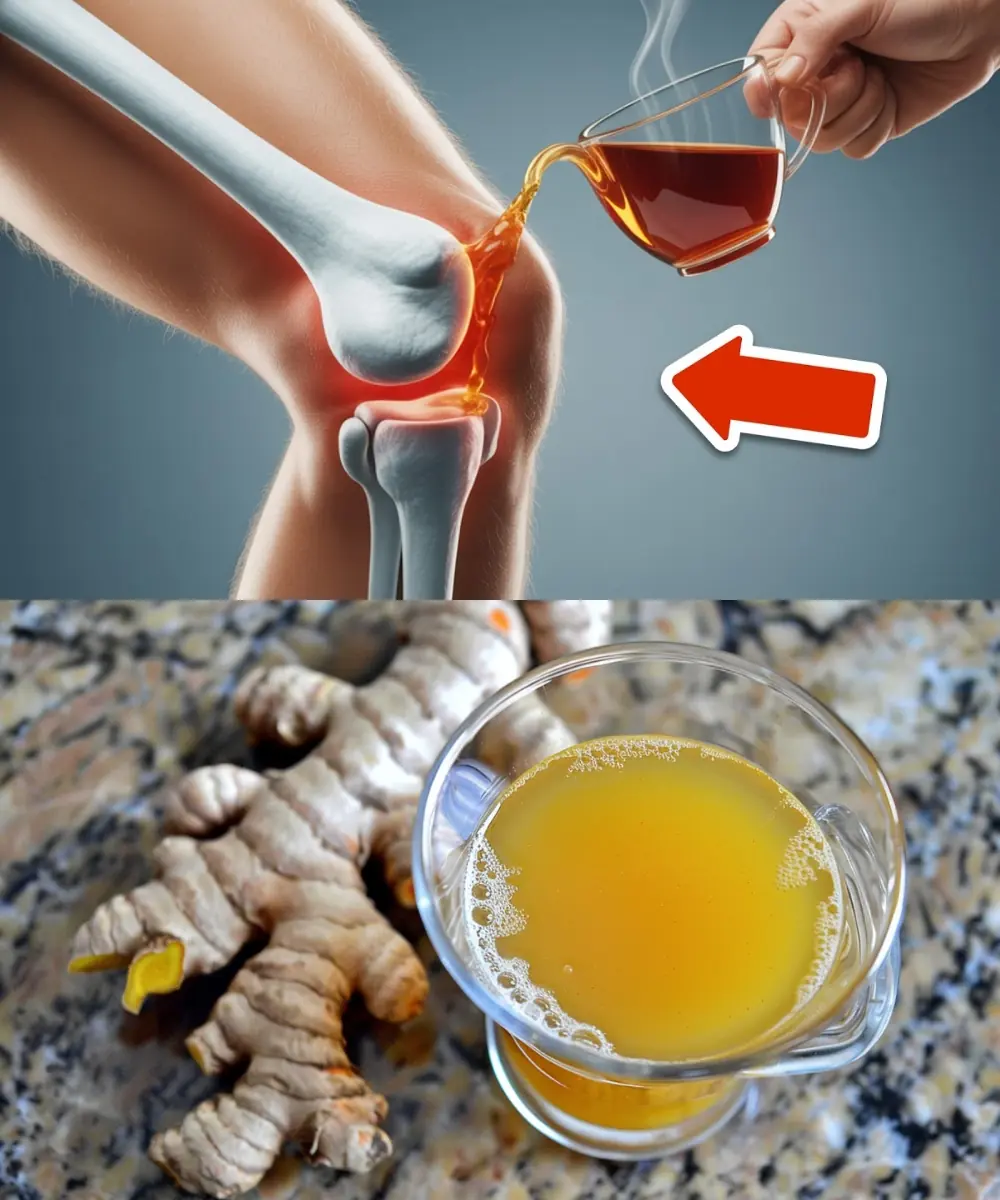
Heal 15 Years of Joint Pain Naturally with Turmeric and Honey Tea
Healthy 26/10/2025 19:04

This Juice Revived My Grandma’s Energy — Say Goodbye to Fatigue and Body Pain with This Natural Recipe
Healthy 26/10/2025 19:02

The Benefits of Eating 2 Boiled Eggs Every Morning: Transform Your Health!
Health News 26/10/2025 01:57

If Your Kidneys Are in Danger, Your Body Will Send You These 8 Signals — Don’t Ignore Them
Health News 26/10/2025 01:54

The Surprising Effects of Avocado on Your Heart and Brain
Health News 26/10/2025 01:44

Ways to Get Over a Man Who Didn’t Value You
Fun Fact 26/10/2025 01:36
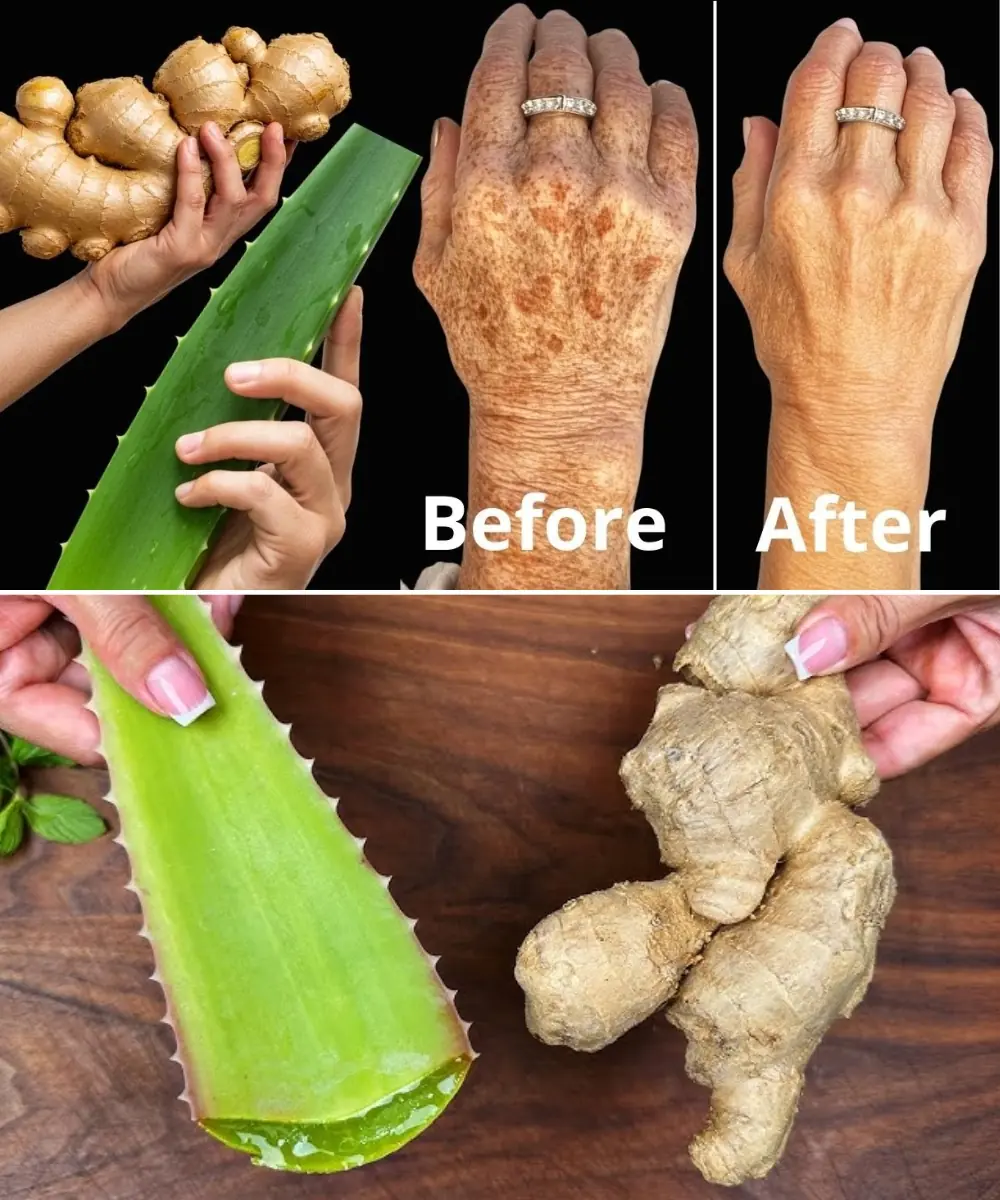
I’m 66 but Look 36 — My Secret? Aloe Vera & Ginger for Firm, Smooth Skin
Healthy 25/10/2025 19:44
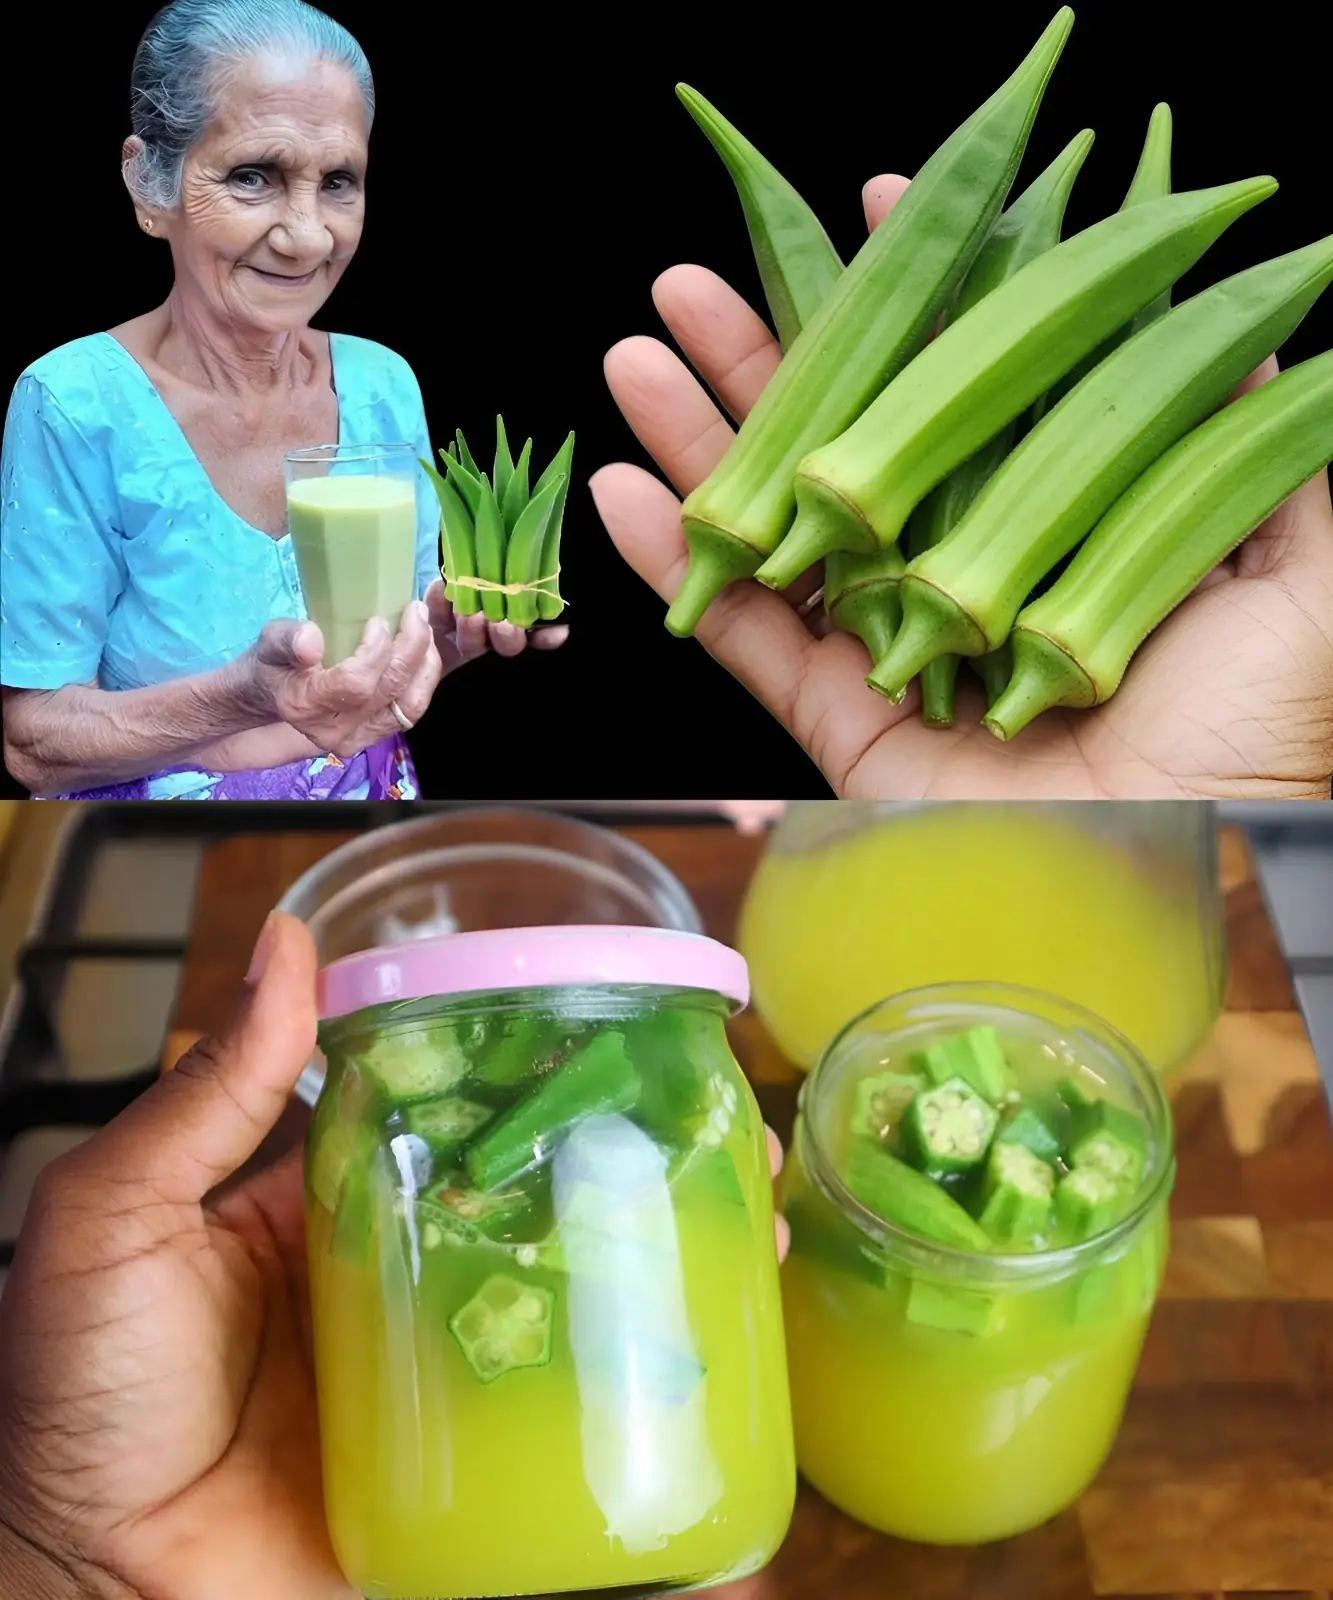
How to Make Okra Water to Treat 17 Health Problems Naturally
Healthy 25/10/2025 19:42

Banana and Egg Mask to Look Younger Even in Your 80s
Healthy 25/10/2025 19:29

Scent Leaf Secrets Unveiled: 10 Surprising Health Benefits of This Miracle Herb
Healthy 25/10/2025 19:24

From White Hair to Black Hair Naturally in Just 5 Minutes — Fast Hair Growth Remedy
Healthy 25/10/2025 19:22